One part science, one part art, seed starting practices are passed on in many forms. We all gather our favorites, add some water, a little care, some patience, and we transform those tiny seeds into productive plants.
But as anyone that’s ever planted a tray knows, there’s always something to be learned, tweaked, modified in our own seed starting efforts. Let’s dig in.
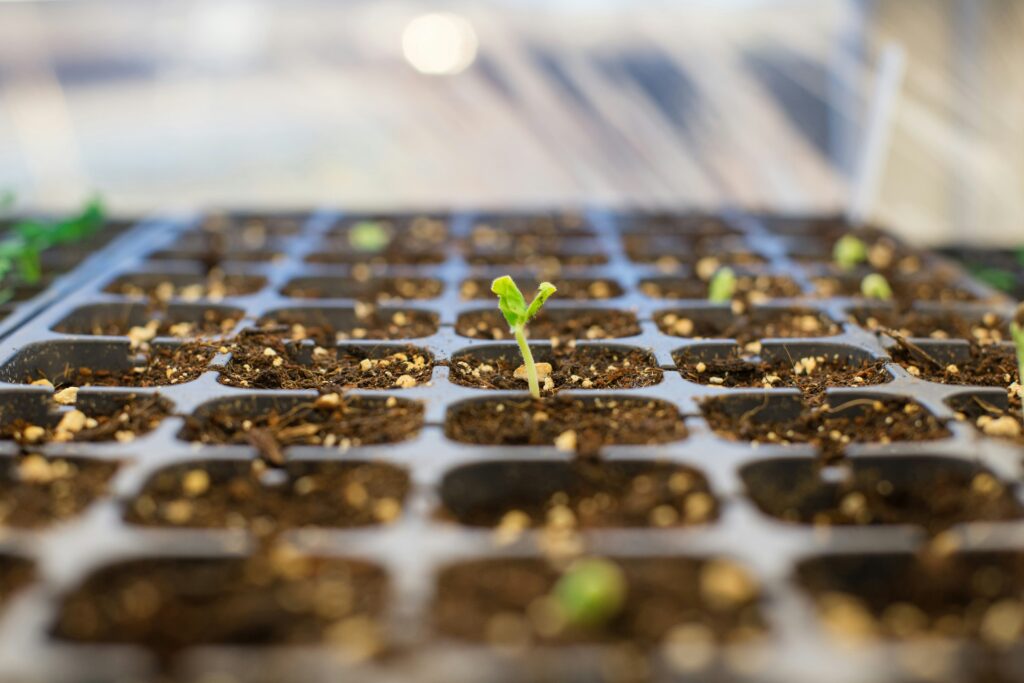
Why Start Seeds in Trays?
Starting seeds in trays is more than a tradition—it’s thee move for gardening efficiency. You’re not just planting seeds, you’re creating a prefect nursery for your future garden. Here’s why it’s a game-changer:
- Control: Trays offer control over your seedlings’ environment, allowing you to fine-tune soil, moisture, and temperature to your needs.
- Efficiency: In gardening, trays are your proving grounds, ensuring only the best are afforded valuable space in the garden.
- Early Start: Seeding is key to get a jump on the growing season, especially for gardeners in cooler climates looking to extend their season.
Creating an Ideal Seed Starting Medium
It’s more than just filling trays with dirt; you’re creating a space that is light, nutritious, balanced for emerging root systems. Here’re a few tips for success:
- Light and Airy: You want a mix that’s easy for tiny roots to navigate and holds moisture without waterlogging.
- Nutrient-Rich: A sprinkle of compost or worm castings provides a steady diet of nutrients for growing seedlings. We’d highly suggest Compost Recipe #001 or Worm Poop Recipe #004. 😉 (Also, check out our guide to composting)

Outdoor vs. Indoor: Best Practices
Choosing between starting seeds indoors versus outdoors has a lot to do with your location and your growing situation. Each has its merits, setting the stage for a season of growth. Here’s the lowdown on both arenas.
Indoor Advantages:
- Climate Control: With a controlled environment, seedlings are protected against the whims of Mother Nature.
- Pest Protection: A clean growing area is a sanctuary free of pests and disease—giving your seedlings a strong and healthy start.
Outdoor Considerations:
- Natural Conditions: Like athletes training in high altitude, toughening up seedlings in their natural environment will make them stronger plants.
- Space Savvy: Cuts down on indoor clutter and gives your plants a head-start in their natural abode.
Timing: Best Practices for Any Zone
Timing your seed starting is like catching the perfect wave—too early, and you risk a wipeout with a late frost; too late, and the season might pass you by.
Here’s how to nail the timing, for a smooth growing season:
What Month Do You Start Seeds Indoors?
It varies by zone but generally starts 6-8 weeks before the last frost. Check out this Vegetable Planting Calendar Guide for specifics on your zone.
What is the Cheapest Way to Start Seeds Indoors?
With a little creativity, you can kickstart your seedlings on a shoestring budget, proving that the best things in life (and gardening) are indeed free, or close to it.
What Can I Use as a Seed Starter?
Whether you opt for the convenience of a store-bought mix or the satisfaction of a homemade concoction, the right choice sets the stage for your seedlings’ success.
Ingredients:
- 4 parts coconut coir: The base of your mix, helps retain moisture while providing good aeration.
- 1 part perlite: For improved drainage and air space, so your roots can breathe without waterlogging.
- 1 part vermiculite: Helps retain water and nutrients.
- 1/2 part Worm Poop Recipe #004 : A nutrient-rich addition that gently feeds your seedlings without overwhelming them. OR…
- 1/2 part Compost Recipe #001: feeds beneficial microorganisms for a live soil.
Directions:
- Blend Your Base: Mix coconut coir with perlite and vermiculite until you have a uniform mixture.
- Nutrient Boost: Sprinkle in the Worm Poop recipe #004. Mix thoroughly through the base mix.
- Moisten: Lightly water your mix—should be damp but not soggy. This step is crucial for germination.
- Fill Your Trays: Gently pack your seed starting trays, avoiding compaction.
- Plant Your Seeds: Follow seed packet instructions for depth and spacing. Cover lightly with the mix and mist the top layer.
- Care and Grow: Place your trays in a warm, brightly lit area, keeping the mix consistently moist.
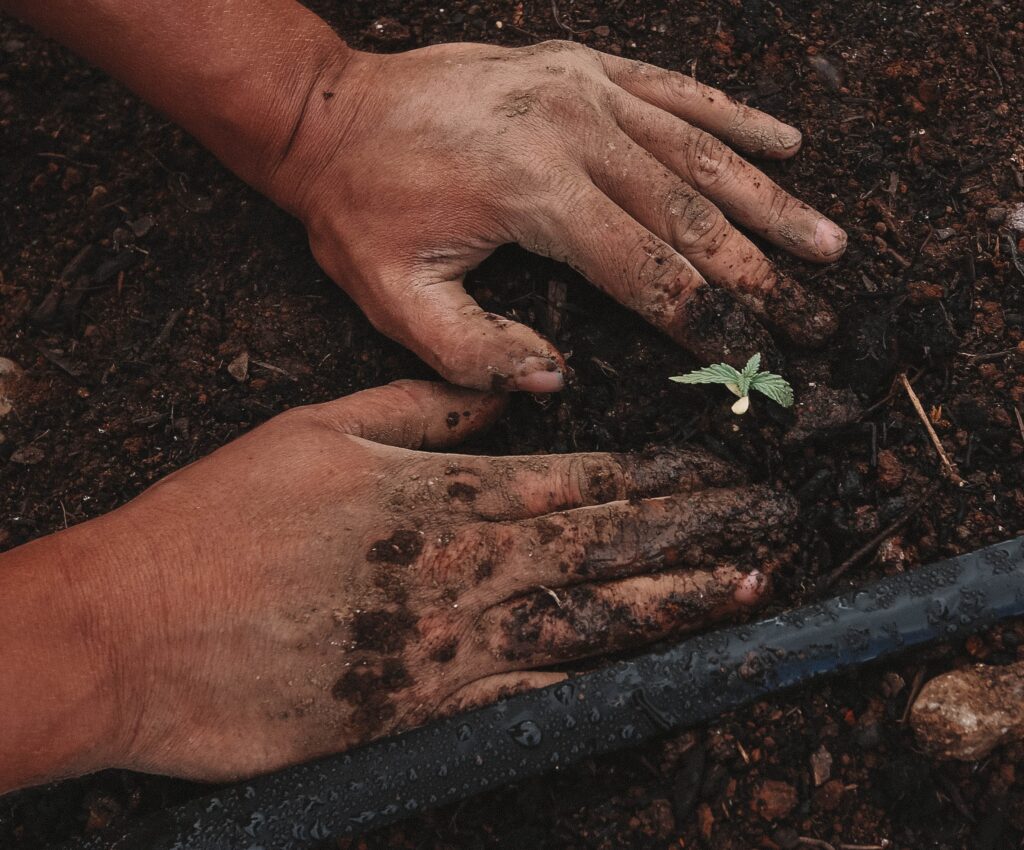
When Are the Seedlings Ready to Be Planted?
The transition from tray to garden is the final rite of passage that signals they’re ready to take on the world—or at least your garden. Here’s how you know it’s time:
- True Leaves: When they’ve developed their second set of true leaves, they’re ready to photosynthesize on their own.
- Root Check: Give it a slight tug. If the roots are strong, it will hold.
In the world of gardening, starting seeds is like laying the foundation for your building. By controlling conditions, choosing the right medium, and timing your efforts, you’ll get the most out of your garden.
So, roll up your sleeves, it’s time to get to work.